See that sweet baby wrapped in a quilt in
Arts & Crafts Homes and the Revival magazine? Her name is Amelia Harper and her great aunt is Minneapolis illustrator extraordinaire,
Cindy Lindgren.
Not only does Cindy create beautiful art prints and cards, available in her
Etsy shop, but she also designs fabric for
Modern Yardage. So, when she found out here niece was expecting, she started designing a fabric collection to decorate the new baby's nursery. Isn't that sweet?
Do you know about
Modern Yardage? This family-owned fabric company uses the latest technology to print fabric digitally rather than the traditional screen printing method. They use environmentally-friendly water-based textile pigments (yeah!). But one of the "greenest" things about Modern Yardage is no waste. Fabrics are printed on demand as they're ordered, rather than thousands of bolts that may or may not sell. And no worries about a fabric being sold out or unavailable at a later date. Another cool feature of Modern Yardage fabrics? All prints are available in three scales, so you can choose the size that best fits your project.
Watch the first short video on the Modern Yardage
News Feed page if you'd like to learn more about their process.
Cindy enlisted the help of a number of talented sewing friends to help create inspirations for the
Amelia Harper fabric line launch. You can see these beautiful samples here on Cindy's
web site. Here are a few of the items that were recently on display at
The Linden Tree in Minneapolis. I was so thrilled when Cindy asked me to design Amelia's quilt. We met several times to discuss the fabric line, her style, and she shared with me some of her favorite baby quilts she found on Pinterest. Armed with Cindy' jpeg images, I got to work designing an Arts & Crafts-inspired modern baby quilt pattern.
I'm pleased to offer the
Craftsman Baby Quilt pattern, featuring Cindy's
Amelia Harper collection in Monarch, here on my blog.
More photos of the finished quilt are available on Cindy's blog
here.
I really enjoyed sewing with the Amelia Harper fabrics. Modern Yardage prints their designs on pre-shrunk poplin, which has a denser weave than typical quilting cotton. It's got a lovely crisp hand, which makes for beautifully accurate seams.
And now a few details about the
Craftsman Baby Quilt pattern.
- It's fat quarter friendly (hooray!)
- It's easy to assemble and fun to piece
- It's great for large scale prints
- At 35" square, it's small enough to keep a baby warm without swallowing him/her whole
- Use a different print in each large panel or use just one print for a cohesive look
Here are some digital samples using the different Amelia Harper color collections:
 |
| Monarch |
 |
| Cherry |
 |
| Skye |
And finally, yes, you could conceivably use other fabrics. Here I've used Tamara Kate's
Les Monsieurs Aviator collection from Michael Miller. If you make a Craftsman Baby Quilt, using Amelia Harper fabric or something else, I hope you will post it in the
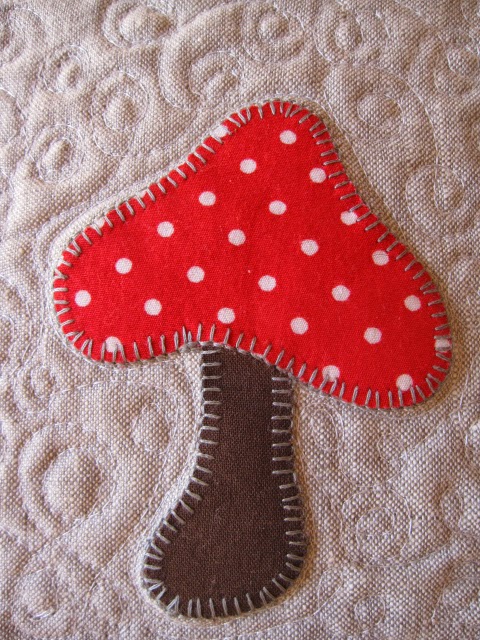
Mini Mushrooms Flickr group I just created. I'd love to see your creations!
 |
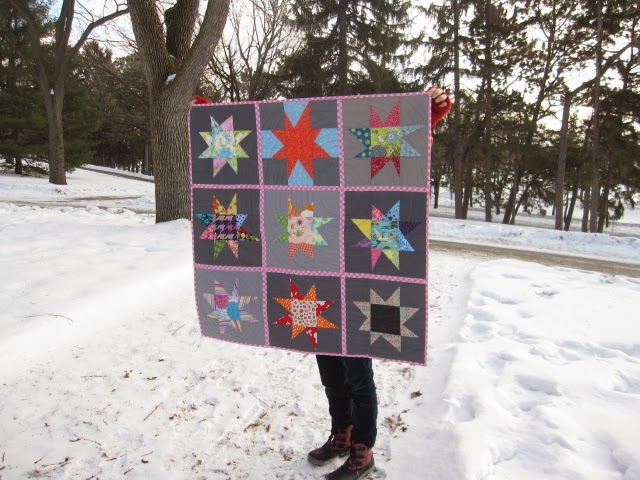
| A bright quilt on a dreary day |
Happy sewing,
Annik